


MCP client – Step by Step Guide to Building from Scratch
Views: 0
Build MCP Client from Scratch – 30+ Power Steps for Success
If you’ve ever wanted to build an MCP client from scratch, you’re in the right place. An MCP (Minecraft Control Panel) client is the backbone of remote server management—letting you execute commands, monitor logs, and handle server processes seamlessly. This guide walks you through every step to build an MCP client from scratch using Spring Boot, REST APIs, and modern best practices.
Think of it as the mission control for your Minecraft server operations.

Understanding Why You Should Build an MCP Client from Scratch
Bob knew that building a robust MCP client wasn’t just about the code—it was about solving the right problem the right way.
He pictured it like the navigation system in a car—integrating commands, feedback, and data into a seamless experience. From parsing logs to processing server commands via RCON or APIs, everything needed to fit into a single, intuitive interface.
Setting Up Spring Boot to Build MCP Client from Scratch
To build an MCP client from scratch, setting up the correct Java environment is essential.
Choosing the right tools was critical. Bob settled on Spring Boot—a framework that’s as efficient as it is powerful.
Why Spring Boot?
Easy project setup with Spring Initializr
Microservice-friendly
Extensive community support
Built-in tools for REST APIs
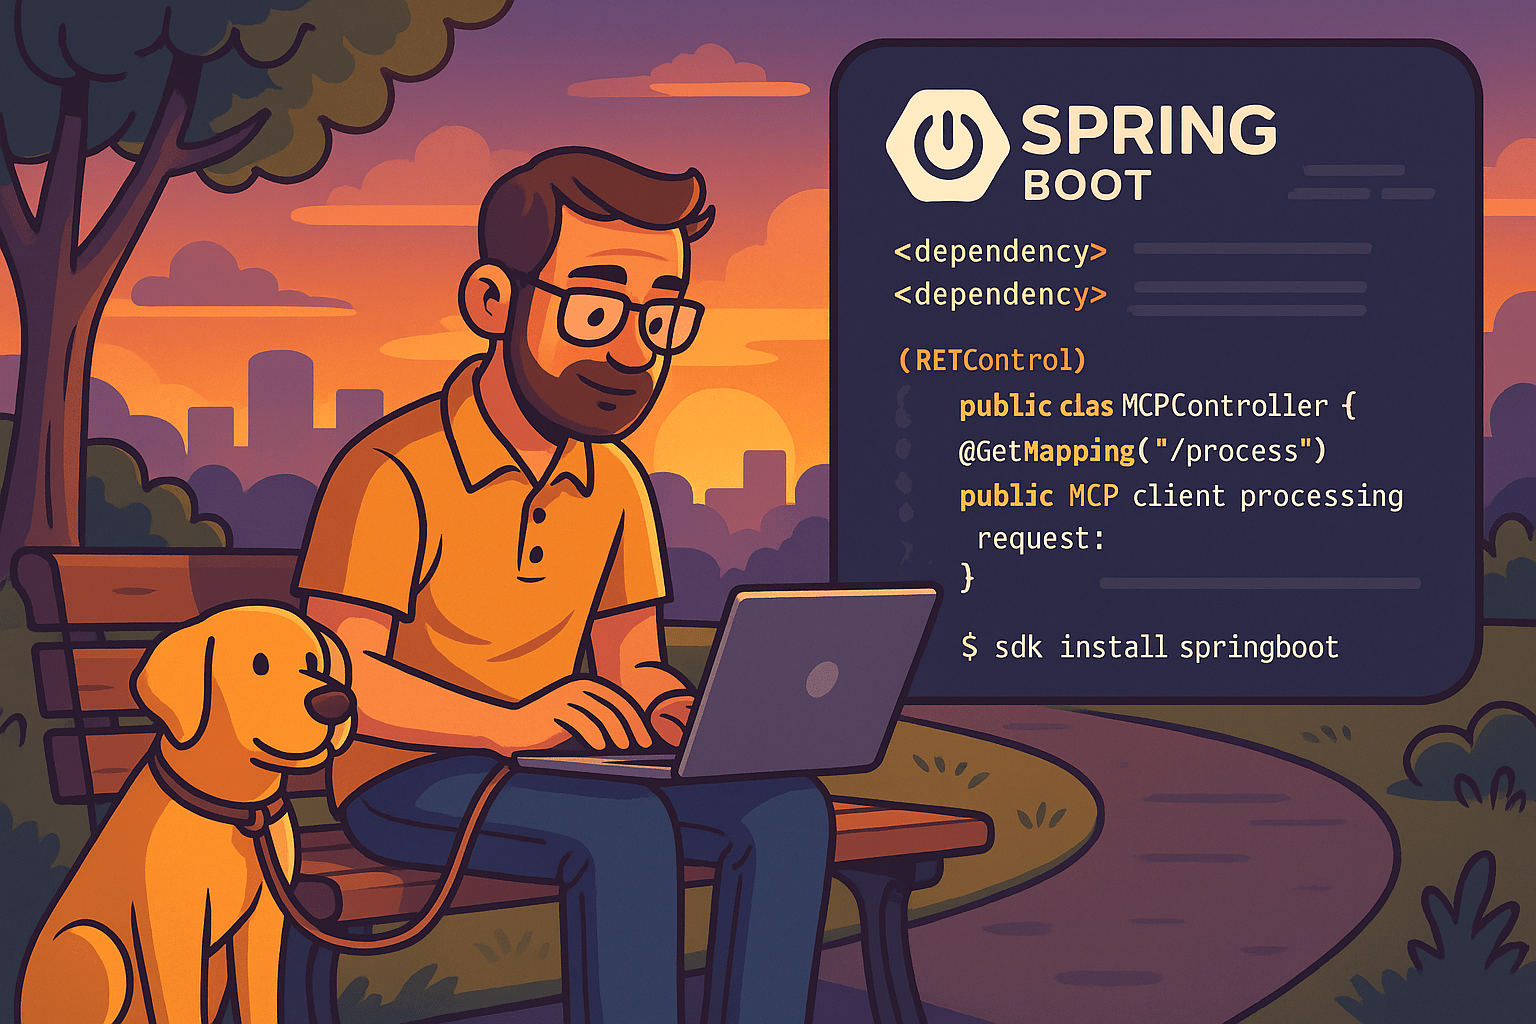
Step 1: Install Spring Boot with SDKMAN
# Install Spring Boot using SDKMAN
$ sdk install springboot
Building the MCP Client with Spring Boot
Once Bob had his development environment set up, he embarked on creating the MCP client. This is where the fun begins, akin to assembling a LEGO set after piecing together instructions.
Creating a Spring Boot Project
To get started, Bob opened his IDE and initiated a Maven project. He included dependencies like Spring Web and Spring Boot DevTools to expedite his development process.
<dependency>
    <groupId>org.springframework.boot</groupId>
    <artifactId>spring-boot-starter-web</artifactId>
</dependency>

<dependency>
    <groupId>org.springframework.boot</groupId>
    <artifactId>spring-boot-devtools</artifactId>
</dependency>
Bob then crafted the application structure, ensuring that each component was designed to smoothly communicate with others, much like a well-orchestrated dinner party.
Core Features Needed to Build an MCP Client from Scratch
Just like assembling a LEGO castle, Bob started with the foundational block: the controller.
@RestController
public class MCPController {

    @GetMapping("/process")
    public String process() {
        return "MCP client processing request";
    }
}
From here, he began layering functionality:
-
Server status endpoints
-
Command execution APIs
-
Log retrieval routes
-
Plugin management hooks
Best Practices in Action
When you build an MCP client from scratch, remember to apply SOLID principles to ensure scalability.
Bob made a conscious decision to follow DRY and SOLID principles.
“Imagine making coffee every morning with a different setup—it’s wasteful and chaotic. The same applies to code.”
He applied:
-
DRY: Code reuse through services and utility classes
-
SRP: Each class had one responsibility
-
Dependency Injection via
@Autowiredto decouple logic
Alternative Approaches
Bob considered Flask for rapid prototyping in Python. But Spring Boot’s baked-in production-readiness won him over. Still, he took notes on Flask’s flexibility for future experimentation.
Troubleshooting Common Pitfalls
Bob encountered several classic Spring Boot errors:
| Problem | Solution |
|---|---|
Application failed to start |
Check application.properties for port conflicts |
Whitelabel Error Page |
Ensure correct @RestController mapping |
404 Not Found |
Double-check route paths and CORS settings |
With help from forums and Stack Overflow, Bob resolved each issue and grew stronger as a dev.
Additional Power Steps
Here are 30+ core tasks Bob executed to complete his client:
| Step | Task |
|---|---|
| 1 | Install Java 17+ |
| 2 | Setup Spring Boot project |
| 3 | Configure Maven dependencies |
| 4 | Enable RCON on Minecraft Server |
| 5 | Build RCON client class |
| 6 | Create REST endpoints |
| 7 | Handle async logging |
| 8 | Add global exception handler |
| 9 | Setup Swagger/OpenAPI for docs |
| 10 | Configure CORS for web frontend |
| 11 | Test with Postman |
| 12 | Write unit tests with JUnit |
| 13 | Add service layer abstraction |
| 14 | Connect to Redis (optional for caching) |
| 15 | Integrate WebSocket for real-time console |
| 16 | Create front-end (React or Thymeleaf) |
| 17 | Secure endpoints with Spring Security |
| 18 | Add API rate limiting |
| 19 | Dockerize the app |
| 20 | Set up CI/CD pipeline |
| 21 | Write README & documentation |
| 22 | Version your APIs |
| 23 | Handle timeouts & retries |
| 24 | Parse server logs dynamically |
| 25 | Add command queueing system |
| 26 | Implement plugin scan feature |
| 27 | Allow server restart via API |
| 28 | Deploy to cloud or VPS |
| 29 | Add health-check endpoint |
| 30 | Monitor performance (Actuator) |
As Rover dozed peacefully in the afternoon sun, Bob leaned back in his chair, proud of the product he had crafted. His MCP client was no longer a dream—it was a functional, scalable reality.
This wasn’t just about code—it was about crafting a tool with care, purpose, and clarity.
You too can follow this path. Just start with one small step, and let momentum carry you forward.
Conclusion:
With determination and these outlined steps, anyone can successfully build an MCP client from scratch and launch a fully-functional control panel.
-
“By following these steps, you too can build an MCP client from scratch with confidence and clarity.”
-
Before feature list: “To successfully build an MCP client from scratch, you need a methodical approach. That’s where these 30+ steps help.”
-
In the “Best Practices” section: “While building your MCP client from scratch, always prioritize reusability and modular architecture.”
Frequently Asked Questions (FAQ)
Q: What is an MCP client?
A: A backend interface that connects to Minecraft servers, processes commands, and provides real-time feedback.
Q: Why use Spring Boot?
A: Spring Boot makes it easy to bootstrap production-ready services with minimal configuration.
Q: How can I troubleshoot Spring Boot issues?
A: Read logs first, check configuration files, and use tools like Postman, Swagger, or debug mode in your IDE.
Find us
#MCP #SpringBoot #DeveloperGuide #JavaProgramming #SoftwareEngineering #BackendDevelopment #CodingJourney #Technology #TechBlog #TechWriting #Programming #SoftwareDevelopment #TechCommunity #WebDevelopment #CodingTutorial