


Vibe coding for a gamejam
Views: 0
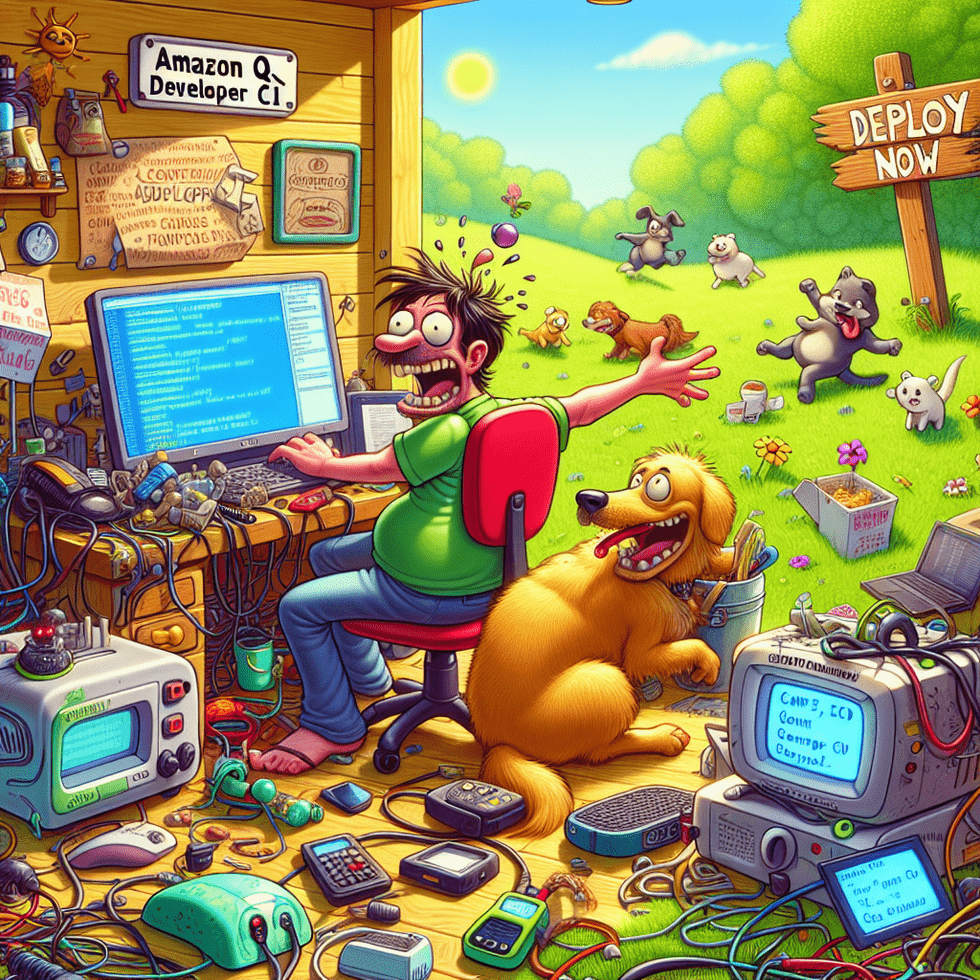
Vibe coding for a gamejam can be both exciting and daunting, but imagine the whirlwind of creativity ignited during such an event. Bob, an enthusiastic and slightly chaotic developer, found himself plunged headfirst into this world, armed with nothing but his wits, a bit of caffeine, and his trusty golden retriever, Daisy, by his side. Our journey follows Bob as he navigates the colorful chaos of vibe coding for a gamejam.
Bob’s story begins one sunny Saturday afternoon while he was walking Daisy through the local park. As they strolled past the lake, another developer mentioned an upcoming gamejam that focused on creating interactive story-based games. Bob was intrigued; he loved the thought of merging storytelling with technology. Later that evening, while savoring a cup of his favorite brew, the idea struck him: why not participate in the gamejam and take on the challenge of vibe coding?
Embracing the Chaos: Setting Up the Game Environment
Back home, Bob rolled up his sleeves, energized by the thought of the challenge ahead. He knew he’d need a strong framework for developing his interactive story game, so he turned to Spring Boot. However, before being able to leap into coding, Bob had to first navigate the initial chaos of setup.
mkdir adventure-gamejam
cd adventure-gamejam
curl https://start.spring.io/starter.zip -d dependencies=web -d name=adventure-game -o gamejam.zip
unzip gamejam.zip
Bob downloaded the Spring Boot starter project, settling himself amidst his tangled cables and tech props scattered like pieces of a whimsical puzzle.
Configuring the Basics
With the project structure in place, Bob’s next step was to update pom.xml to include essential dependencies.
<dependency>
    <groupId>org.springframework.boot</groupId>
    <artifactId>spring-boot-starter-data-jpa</artifactId>
</dependency>
<dependency>
    <groupId>org.springframework.boot</groupId>
    <artifactId>spring-boot-starter-web</artifactId>
</dependency>
Bob knew these dependencies were crucial to building a robust REST API that would power his game’s interactions.
Crafting the Game’s Story and Logic
With initial setup completed, Bob used Spring Controllers to define endpoints for various parts of the game story.
@RestController
@RequestMapping("/story")
public class GameController {

    @GetMapping("/start")
    public String startGame() {
        return "Welcome to the Adventure!";
    }

    @GetMapping("/next")
    public String nextChapter() {
        return "You enter a mysterious cave...";
    }
}
Bob deftly constructed these endpoints, ensuring that each path triggered vibrant story elements to animate the game world.
Troubleshooting Tips and Warnings
Coding for a gamejam isn’t without its hurdles. Bob quickly learned that:
- Debugging: Always run your app to check for endpoint errors. Use
mvn spring-boot:runfor a seamless start. - Version Control: Regular commits could save you from losing hours of progress.
- Testing: Implement JUnit tests early to catch melee issues before they become dragons.
Despite the occasional glitch, Bob soldiered on, driven by the images of his ideas coming to life.
Conclusion: The Victory Lap
As the sun set, Bob finally beamed in triumph, having successfully set up an interactive game prototype for the gamejam. The vibe coding experience had been a fast-paced yet exhilarating immersion into creativity and technology.
Key Takeaways:
- Starting with a solid framework like Spring Boot makes game development intuitive and structured.
- Coding for a gamejam requires a balance of creativity and swift troubleshooting.
- Set clear goals and keep your setup organized to navigate through coding chaos seamlessly.
So, the next time you find yourself gearing up for a gamejam, remember Bob’s journey. Embrace the chaos, savor the vibe, and let your creativity soar.
Find us
Balian’s Blogs Balian’s
linkedin Shant Khayalian
Facebook Balian’s
X-platform Balian’s
web Balian’s
Youtube Balian’s
#GameJam #VibeCoding #SpringBoot #ProgrammingLife #CodingAdventures #GameDevelopment #DeveloperHumor #TechLife #JavaDeveloper #ProgrammingChallenge #CodingFun #CreativeCoding #Debugging #SoftwareDevelopment #TechCommunity